

Producing high-quality brand videos used to require a full studio, costly equipment, and weeks of work from a production crew. Now, generative AI tools handle much of that process in software. You can draft a script, have AI generate the footage and voiceover, and get a polished video ready in hours instead of days. Marketing teams and tech professionals are turning to these tools to meet tight content deadlines without blowing the budget. A simple prompt or script can turn a creative idea into a finished video quickly, consistently, and on budget.
This guide demystifies generative AI video tools. It explains what they are, how to use them, and provides a step-by-step overview of the five top tools that leading brands already rely on for fast, effective video creation.
What Are Generative Artificial Intelligence Tools?
Generative AI tools are software applications that create new content, video, text, audio, or images based on the input and data you provide. In video production, these tools use advanced machine learning models (such as diffusion models or transformer networks) to predict and generate the next frames, scenes, or dialogue in a sequence. In simple terms, you describe what you want, and the AI generates footage or animations to match.
For businesses, these tools offer a new way to produce content. They save time and reduce costs by automating tasks that once required a skilled human team. A marketing or product team can create polished visuals without special editing skills or a studio. From product demos to training videos, generative AI is changing how brands tell their stories, making video production faster, more affordable, and more accessible.
How to Use AI to Create Videos
Creating a video with AI follows a straightforward process. Here’s a quick workflow many brand and product teams use:
Step 1: Define Your Objective
Start with a clear goal. Are you making a product explainer, a recruitment clip, or a social media ad? Define the type of video and the key message you want to deliver. Identifying your target audience and outcome (e.g. drive sign-ups, educate customers) will guide all your decisions. A 30-second social promo will look very different from a 5-minute training module, so clarify the objective upfront.
Step 2: Write a Concise Script
Outline a short script or narrative. Keep it conversational and on-brand. Aim for a 60–90 second script (about 150–200 words for a promo) unless you truly need longer. Use simple language and get to the point quickly. You can even use AI writing assistants (like ChatGPT) to help turn an outline or blog post into a snappy script in your brand’s tone of voice. The script will later be fed into the AI video tool for narration or visual guidance, so make sure it’s clear and error-free.
Step 3: Choose the Right AI Tool
Select an AI video tool that fits your project’s needs. Different tools have different strengths:
- If you need a talking avatar presenting your content (for a training or HR video), a tool like Synthesia or HeyGen is ideal.
- For cinematic scenes or creative visuals (like a product teaser or imaginative ad), a generator like Runway or Luma can create bespoke footage from text prompts.
- For quick social clips or editing existing footage, a user-friendly editor like CapCut is handy.
Consider the output style, available features, and budget. Many teams experiment with a couple of tools to see which aligns best with their vision.
Step 4: Generate and Customise
Now it’s time to create the video. Upload your script or enter your prompt into the chosen AI platform. Most tools will guide you through adding media or selecting styles. For example, you might choose an avatar style and voice, or pick a video template. Customise the visuals to match your branding, adjust the colour palette, add your logo, and choose background music or subtitles if the tool supports it. This step is iterative: you might generate a preview, then tweak the imagery, text timing, or voice until it feels right. Generative AI can produce content quickly, so you have the freedom to refine by trying different settings or prompts.
Step 5: Review and Publish
Before finalising, always preview the video. Watch it through and check details like pronunciation of any brand names, the clarity of the AI voiceover, and the accuracy of captions. Ensure your logo or text overlays appear correctly and that the visuals align with your message. Minor glitches (like a weird hand position or a misaligned subtitle) can sometimes occur, so a human review is essential. Once you’re satisfied, export the video (typically to an MP4 file). Choose the resolution and aspect ratio appropriate for your platform (e.g. 1080p 16:9 for YouTube, or vertical 9:16 for mobile socials). Then you’re ready to publish. Upload the video to your website, YouTube, or social media channel. As a final check, make sure the content meets your brand standards and that nothing sensitive was unintentionally included. Now you have a polished video produced with a fraction of the usual time and budget.
Top 5 Generative AI Tools for Video Creation
1. Kling AI

Kling AI is a generative text-to-video model developed by Kuaishou Technology, designed to turn short prompts into cinematic, high-quality clips. It creates realistic human motion, lighting, and camera dynamics that rival live-action footage. Kling is part of a new wave of AI video tools pushing beyond animation into near-photorealistic storytelling, offering brands a fast, affordable way to produce studio-grade visuals from text alone.
What it offers:
- High-quality motion and detail: Kling can generate smooth, natural movement, facial expressions, and realistic physics, making its videos suitable for marketing and cinematic storytelling.
- Prompt-to-scene precision: You can describe camera movements, timing, and emotions, for example, “A slow pan over a sports car under sunset lighting”, and Kling interprets the direction accurately.
- Strong rendering engine: The model produces lifelike visuals with sharp textures and consistent frames, ideal for branded product shots and campaign footage.
Best for:
Creative brand videos, promotional clips, and social campaigns that need eye-catching motion and realism without traditional filming costs. Kling is also useful for storyboarding, allowing teams to visualise ideas quickly before full production.
Limitations:
Kling AI is still in limited access, with public availability rolling out gradually. Free plans may cap duration or include watermarks, while premium plans unlock higher resolutions and longer clips. As with most text-to-video tools, human faces and complex hand gestures can occasionally render imperfectly.
Step-by-Step:
- Access Kling: Visit klingai.com (or the OpenArt portal, which hosts Kling access) and sign in to start a new video generation.
- Enter a prompt: Write a descriptive idea, such as “A young woman jogging through a neon-lit city street in slow motion, cinematic tone.”
- Select settings: Choose your aspect ratio, duration, and visual style (e.g., cinematic, realistic, stylised).
- Generate: Click Create and wait for Kling to render your preview. Review motion and lighting, adjust your prompt for pacing or framing (“slow pan,” “steady handheld camera,” “soft light”).
- Export: Once satisfied, export the clip as an MP4 file. You can then add brand overlays, text, or a logo using a separate video editor before publishing to your preferred platform.
2. CapCut AI Video Editor
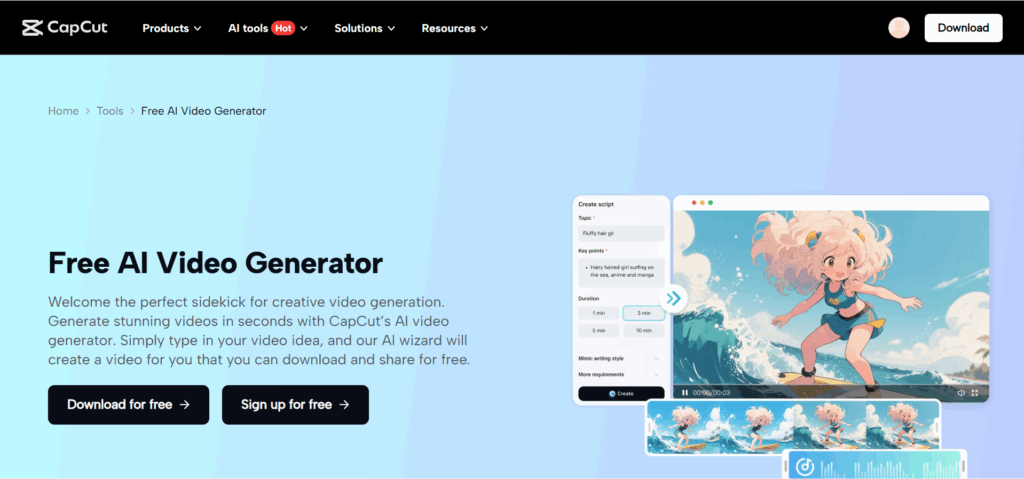
Capcut is a user-friendly video editor with built-in AI features, available on the web and mobile (iOS/Android). CapCut (by the makers of TikTok) helps you create and edit short videos quickly, and its AI tools can generate a video from a script or auto-sync your footage to music.
What it offers:
- Script-to-video conversion: input a written script and CapCut will generate a sequence of scenes (using stock footage or animations) to match the narration, essentially creating a draft video for you.
- Automatic captions and subtitle generation, plus auto music sync that cuts clips to match beats.
- Templates, filters, and a built-in stock footage library for quick video assembly (great for social media style videos).
Best for: Social media content and quick promotional clips. If you need to turn out a TikTok/Reel or a short promo video with minimal editing effort, CapCut is ideal. It’s also great for repurposing content (e.g. turning a blog post or text snippet into a video slideshow with captions).
Limitations: The free plan is very capable, but exports max at 1080p and may add a small watermark on certain auto-generated outputs. Some advanced features (like 4K export, premium templates, or cloud storage) require a Pro subscription. Also, while the AI script-to-video is fast, the automatically chosen visuals can be a bit generic; you might need to swap out some stock clips to better fit your brand.
Step-by-Step:
- Launch CapCut (web or app) and choose the Script to Video option. Paste or write your video script into the script editor. The AI will analyse the text.
- Select a suggested video template or style if prompted (for instance, “Inspirational Promo”, which might have upbeat transitions and music). CapCut will then automatically generate a sequence of video clips, complete with animated text overlays and even a computer-generated voiceover if you want.
- Review the generated video timeline. Use the editor to add or replace media: you can search CapCut’s free stock footage library for specific visuals that match your content. Drag and drop to replace any clip. Adjust text overlays, change filter styles, and insert your company logo.
- Choose background music from CapCut’s library (or upload your own track). The auto beat sync feature can align cuts/transitions to the music rhythm. Also, enable auto-captions to generate subtitles from the script (useful for silent viewing on social feeds).
- Preview the video, then export. On free accounts, export at 1080p (with a small watermark). If you have CapCut Pro, you can export at a higher resolution and without watermarks. Save the MP4 and share it to your social platform of choice directly if you like, since CapCut allows quick sharing to TikTok, YouTube, etc.
3. Synthesia
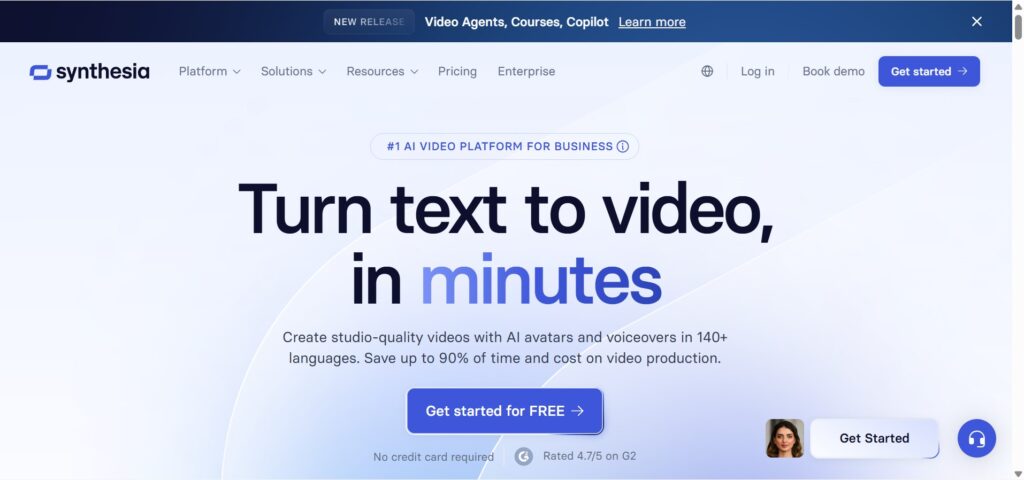
Synthesia is a professional AI video platform that generates videos with ultra-realistic virtual avatars and AI voiceovers. Synthesia is entirely browser-based. You type or upload a script, and it produces a video of a presenter speaking your words. It offers a large selection of diverse presenter avatars or even the option to create your own custom avatar.
What it offers:
- Over 180+ stock avatars (digital actors) to choose from, and support for 120+ languages and accents for the AI voices. This means you can have a presenter speak in English, Spanish, Chinese, etc., all automatically translated and lip-synced.
- Customisable brand templates and backgrounds. You can set your company’s office backdrop or branded slide template behind the avatar, and add text, images, or screen recordings alongside them.
- Automatic subtitles and one-click multi-language translation of your videos. Synthesia will generate captions and can create versions of your video in different languages without re-shooting.
Best for: Corporate explainers, HR onboarding videos, how-tos, and training content. Synthesia excels at any scenario where you’d normally have a person on camera explaining something. For example, many companies use it for internal training modules or product demo videos featuring a “spokesperson” avatar. It saves the hassle of filming real people while still delivering a human-like presentation.
Limitations: The avatars, while realistic, have a somewhat “studio-polished” look and consistent tone. This is great for formal content, but might feel too stiff for a casual vlog-style video. Also, the most powerful features (like custom avatars of your own staff, or longer video durations) require a paid plan. There is no fully free tier beyond a free demo video to get regular usage; you’ll be on a subscription. Always review the pronunciation of specific industry terms or names, as the AI voice may need phonetic tweaks to get them perfect.
Step-by-Step:
- Log in to Synthesia’s online studio and write or paste your script into the script box. For example, a 60-second script (150 words) for a product intro. Choose the language of the script (Synthesia can also translate it for you if needed).
- Select an AI avatar to be your presenter. You can filter by gender, ethnicity, attire, etc., to find one that fits your brand. Also, choose a voice for the narration; you can pick different accents or styles (e.g. friendly, authoritative). There are media; you might pick a casual setting or leave it a solid colour to overlay text.
- Customise the background. You can use a plain colour or an image/video background. Many corporate users upload their office backdrop or a slide from PowerPoint as the background. Adjust text colour and position for titles or bullet points.
- Click Generate Preview to have Synthesia produce a low-res sample. Check that the avatar’s pronunciation and pacing sound right. You can adjust pauses or spelling (e.g., spell out acronyms phonetically) to improve speech. Repeat until the preview is satisfactory.
- Export the final video in your desired resolution (standard is 1080p). Synthesia will create a full-quality video of the avatar delivering your script. Download the MP4 and use it in your presentations, learning management system, or share it internally. (Pro tip: Turn on the automatic subtitles feature so your video download includes caption files, which is great for accessibility.)
4. Sora
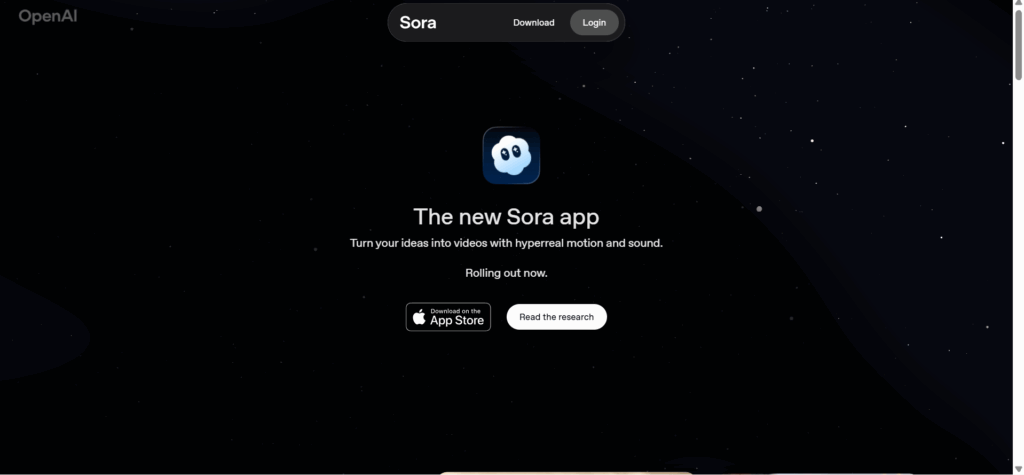
Sora is a generative AI video model from OpenAI that creates photorealistic video clips directly from text prompts. It can understand detailed natural-language instructions to produce scenes with coherent motion, lighting, and perspective. Although still in limited release, Sora demonstrates how AI can simulate complex environments and actions from simple ideas, giving brands a new way to visualise stories without cameras or crews.
What it offers:
- Lifelike visuals and motion: Sora generates realistic scenes up to one minute long, maintaining consistent physics, lighting, and depth. It’s ideal for product reveals, conceptual ads, and creative storytelling.
- Detailed text understanding: You can describe camera angles, pacing, and mood (“a smooth dolly-in of a smartwatch glowing in a dark studio”), and Sora will interpret it accurately.
- Object and environment consistency: The model keeps visual continuity across shots, useful for brand storytelling or sequence-based ads.
Best for:
High-end marketing visuals, cinematic storytelling, or product showcases that would normally require studio production. Sora is best suited for creative concept videos where you need a polished, lifelike output from a written idea.
Limitations:
Sora is still in a closed testing phase and not yet available for public use. Video lengths and resolutions may vary depending on model access. Because it’s research-stage technology, some results can appear imperfect in fine details (such as hand motion or object reflections). For now, brands can explore examples on OpenAI’s preview page and plan future workflows around its expected release.
Step-by-Step:
Export: Download the final MP4 video. Overlay text, logos, or call-to-action cards in a standard video editor before publishing.
Access: Once publicly released, log in to Sora’s platform via OpenAI’s workspace or API.
Prompt: Write a detailed text prompt describing your vision, for example: “A close-up of a luxury perfume bottle spinning under warm studio lights with mist swirling in slow motion.”
Customise: Choose your aspect ratio, video duration, and style tone (cinematic, product demo, social ad).
Generate and review: Click Generate and wait for the preview. Adjust your prompt if movement or lighting needs refinement (“pan slower,” “increase depth of field,” etc.).
5. HeyGen
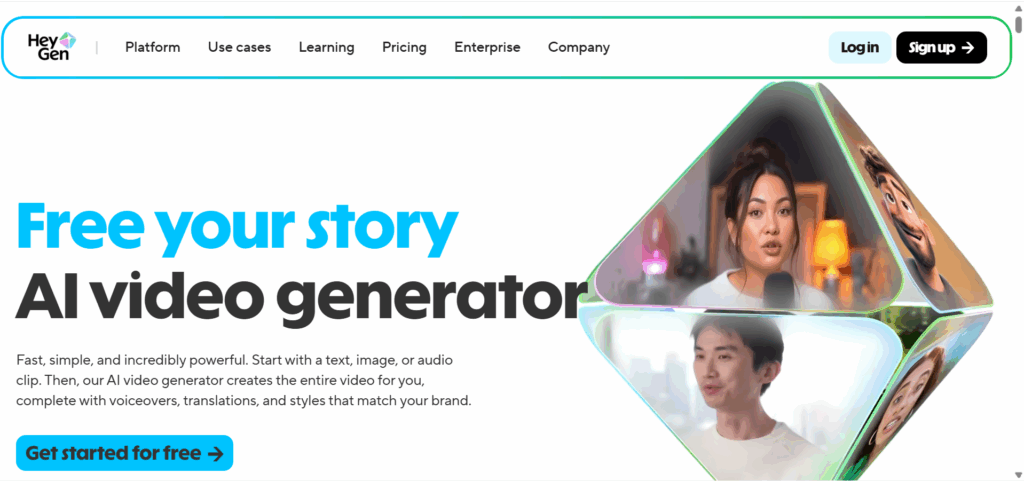
HeyGen is a text-to-video platform focused on avatar-led videos and presentations. HeyGen (formerly known as Movio) allows you to create a talking-head video from just a script, similar to Synthesia. It stands out for its extensive voice and language options, and it also supports team collaboration, making it easy for marketing teams to work together on video projects.
What it offers:
- 300+ AI voices in 175+ languages. You can pick from a huge range of voice profiles (different genders, ages, accents) and have your script spoken naturally in virtually any major language. This is great for localising marketing content to different regions with accurate lip-sync.
- Voice cloning and personalisation: HeyGen can clone a voice from a sample (with permission), so your videos could use your CEO’s voice or a distinct brand voice consistently. You can also create custom avatars that resemble your actual team members for a personal touch in communications.
- A team collaboration dashboard, which allows multiple users to co-create and edit videos. It includes project folders, version history, and commenting, so a whole marketing team can streamline video production workflows in one place.
Best for: Product explainers, personalised marketing videos, training modules, and any scenario where you’d like a speaking presenter but don’t want to film someone each time. HeyGen is especially useful for startups and small businesses creating pitch videos or feature walkthroughs. You can have a friendly avatar walk the viewer through a presentation. It’s also handy for generating content in multiple languages without separate voice actors.
Limitations: The free plan is limited to very short videos (and only a few per month). Videos will also carry a small watermark on the free tier. To unlock longer video durations, high-definition exports, and to remove watermarks and use custom branding, you’ll need a paid plan (pricing starts around $29/month for the Creator plan). Another consideration: while the avatars are realistic, using too many in one video or switching frequently can feel uncanny. It’s best to stick with one avatar per video for consistency and ensure the tone matches your brand (thankfully, there are many avatars to choose from).
Step-by-Step:
- Sign up and start a new project in HeyGen. Upload or type your script into the editor. For example, if you’re making a product demo, write a short script highlighting the key features.
- Choose an avatar from the library to be your presenter. You can filter avatars by professional attire or casual, different ethnicities, etc. Select the one that fits the persona you want (e.g. a friendly young presenter for a tech tutorial, or a more formal avatar for a corporate announcement). Then pick the voice. With 300+ voices available, you might start with an English US voice, or if you plan a different language output, choose accordingly. You can adjust the voice style and speed to match the tone (some voices allow selecting an emotion like cheerful or serious).
- Add any branding elements. HeyGen lets you insert your own images or video clips as cutaways. You can also add text overlays. Many users at this stage insert an intro slide with their logo and an outro with a call-to-action. Use the provided templates for intros/outros to keep things polished, for example, a branded title card at the start.
- Click Generate to create a preview of the video. The avatar will speak your script. Review it for any mispronunciations or awkward phrasing. If something sounds off, you can edit the script or even use the pronunciation editor to correct it. Also, check that the avatar’s facial expressions and the background visuals align with your message.
- When everything looks good, export the video at 1080p. The final rendering will remove any preview watermarks (if you’re on a paid plan) and give you a high-quality MP4. Download the file and distribute it as needed. Share the video on your website, in marketing emails, or on social media. If it’s an internal training, you can upload it to your LMS. (HeyGen also provides an option to generate a shareable link to the video in the cloud if you want to quickly show it without downloading.)
Why Brands Should Care About Generative AI
- Speed: AI video tools dramatically shorten production timelines. What used to take a design team days or weeks can now be done in hours. This means more content, faster campaigns, and the ability to react in real-time to trends or events.
- Cost-efficiency: Companies save on expensive studio shoots and editing suites. By some reports, businesses have cut video production costs by around 70% using AI automation. A small monthly software fee is often far cheaper than hiring videographers or voice actors for each update.
- Consistency: With templates and AI avatars, you can ensure every video follows your brand guidelines. The style, tone, and messaging stay uniform across dozens of videos. For global brands, AI makes it easy to keep content consistent in multiple languages as well.
- Scalability: Need 10 product videos for 10 different products? Or the same tutorial in 5 languages? Generative AI scales your video output without multiplying your headcount. You can generate variations and localisations almost instantly, unlocking content for audiences you might not have reached before.
Real-world trend: many SMEs and startups are already using AI video tools to maintain a steady stream of content across social media and training platforms, all without expanding their creative teams. In a fast-paced digital market, generative AI is becoming a secret weapon for staying visible and engaging without burning out resources.
Risks and Best Practices
While AI video tools are powerful, brands should use them thoughtfully. Keep these best practices in mind:
- Copyright: Be cautious with the assets and prompts you use. If the AI offers stock images or music, ensure they are licensed for use. Avoid prompting the AI to generate trademarked characters or content you don’t have rights to. Always verify that the final video doesn’t inadvertently include copyrighted material.
- Data Privacy: Never upload sensitive company information or personal data into a generative AI tool. Treat it like a public space; proprietary scripts or unreleased product images might be best kept offline or within tools that guarantee data privacy. Check each platform’s privacy policy, especially if you’re in a regulated industry.
- Human Review: AI can produce errors or odd results (for example, mispronouncing a product name or rendering a company logo incorrectly). Always have a team member review each video before it goes live. A quick edit or a second opinion can catch issues that the AI doesn’t understand.
- Brand Tone: Ensure the AI-generated voice or avatar aligns with your brand’s personality. If your brand is young and fun, you might not want a very formal-sounding AI voice, and vice versa. Many tools let you fine-tune tone, so spend time choosing voices, music, and visual styles that match your established branding. Consistency here builds trust with your audience, even if the content is AI-made.
By staying aware of these factors, you can avoid pitfalls and confidently integrate AI tools into your video production process.
Generative AI video tools are giving brands the power to scale their storytelling like never before. With clear goals, a short script, and the right platform, anyone on your team can produce engaging videos that resonate with your audience. The key is to start small, try creating one AI-assisted video for a single campaign or internal update, then measure the impact. Did it boost engagement or save your team time? If so, you can comfortably ramp up production, knowing you’re getting ROI. In this way, AI becomes a productivity partner rather than just a buzzword. Embracing these tools now can keep your content strategy agile, cost-effective, and ready for the future of marketing.
Get passive updates on African tech & startups
View and choose the stories to interact with on our WhatsApp Channel
Explore


